Profiles allow assigning permissions to groups of users similar to NetSuite roles. Follow the steps below to customize a profile to fit your organization needs.
Covered in this article:
- Customize SuperSync Email Profile
- Name
- Inactive
- Searching for Records
- Matching Types
- Matching Type Order
- Return Parents in Search Results
- Logging Emails
- Matching Entity Types
- Matching Entity Type Order
- Attach Emails to Contact Parent Too
- Creating New Records
- Record Forms
- Related Articles
This process must be completed by a NetSuite Administrator.
To learn how to create a new profile, visit How to Assign Profiles.
Customize SuperSync Email Profile
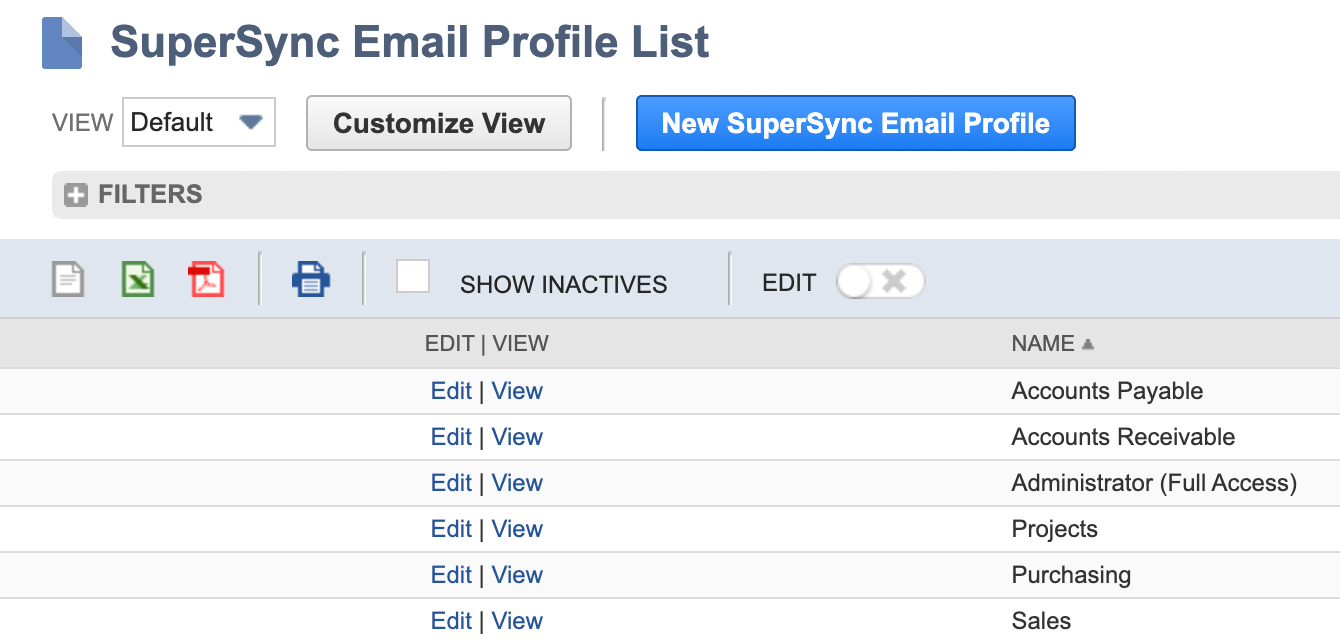
Go to Customization → List, Records & Fields → Record Types and click on List to the right of the SuperSync Email Profile. Once the list of profiles is open, edit the profile that you’d like to customize.
As an example, let's say you’ll customize the Administrator (Full Access) profile.

Out of the box, SuperSync Email for Outlook comes with default Profiles. You may use these, edit them, or create your own.
Name
This is the name of the Profile. The user will never see the name unless they visit their employee record in NetSuite.

Inactive
If this is enabled, the integration will act as if this Profile doesn’t exist anymore.

Next, there are three sections:
Searching for Records
Logging Emails
Creating New Records
Searching for Records
Matching Types
Control which record types a user is allowed to search for. A Matching Type is similar to a record type but with options. Simply hold the Ctrl key on your keyboard while clicking a Matching Type to select or deselect it from the list.
Searching from within the Outlook add-in will be the fastest with the least amount of Matching Types selected. In other words, more Matching Types selected equals longer wait time when searching, so it’s recommended to only select the ones needed
Matching Type Order
Control the order in which the search results are displayed.
Click the “X” to remove a Matching Type from the list.
Click and drag the six-dots icon to move a Matching Type up or down to change the order.
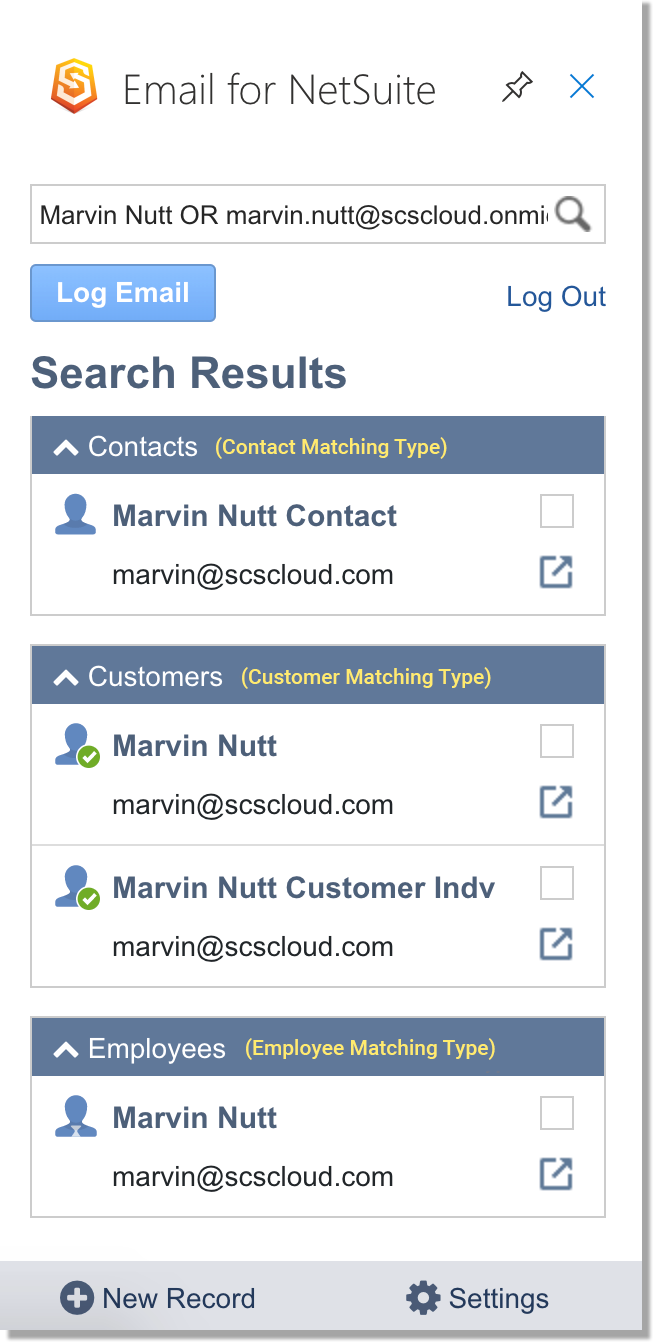
Example Matching Types displayed in the Outlook add-in
Return Parents in Search Results
If this checkbox is enabled, when you search in the add-in, if it returns any contacts and those contacts have parent records such as customers or leads, the Outlook add-in will also show those in the search results.

Logging Emails
Matching Entity Types
This settings controls which entity types the integration looks through to automatically find a match. See below for a detailed explanation of how this works. It applies mainly to the Bcc to NetSuite feature that is available when composing a new email in Outlook. To select or deselect an option from the list, simply hold the Ctrl key on your keyboard while clicking the option.
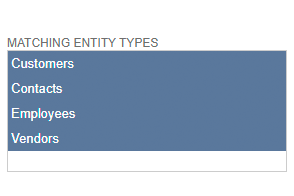
Always ensure the Employees option is selected. Otherwise, no emails will be able to be logged to NetSuite.
Matching Entity Type Order
This is the order in which the integration attempts to find a matching entity record. It’s recommend to have Employees at the top. See below for a detailed explanation of how this works.
Click the “X” to remove an option from the list.
Click and drag the six-dots icon to move an option up or down to change the order.

How Matching Entity Types are Used
Let’s say you are sending an email to Jane Smith. Before sending the email, you click the Bcc to NetSuite button to add your Bcc to NetSuite email address into the Bcc field of your email. Then you send your email.
A copy of your email then gets sent to your NetSuite account to be read by the integration. The integration then needs to figure out which entity records to attach this email to. This is where the Matching Entity Types are used. For this example, let’s use the two screenshots above.

Matching Entity Types control which entity types the integration looks through to find a match automatically.
Matching Entity Type Order display the order in which the integration attempts to find a matching entity record.
The integration attempts to find entity records in NetSuite by looking at the email addresses of the recipient(s) and sender. The integration uses the Matching Entity Type Order field to do its searching.
Recipient
In this example, that would be Jane Smith. It looks at the first option in the list, which is Employees. If it finds an employee with Jane Smith’s email address, then it stops searching and uses that employee record to attach the email to. If it doesn’t find a match, then it continues to the next option, which is Customers. If it doesn’t find a matching customer, then it continues to Contacts and then eventually Vendors if applicable.
Sender
That’s you! Most likely, you’ll want it to find your employee record. It looks at the first option in the list, which is Employees. If it finds an employee with your email address, then it stops searching and uses that employee record to attach the email to. If it doesn’t find a match, then it continues to Customers and so on.
Attach Emails to Contact Parent Too
If you log an email to a contact in the add-in and that contact has a parent such as a lead or a customer, the message record that gets created in NetSuite will be attached to both the contact and its parent.

Creating New Records
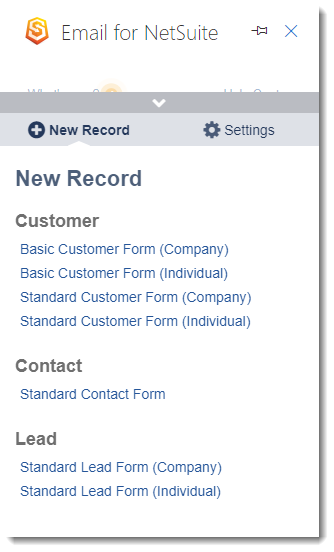
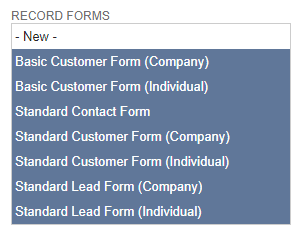
Record Forms
This allows you to control how and if users are allowed to create new records from the Outlook add-in. Record Forms are similar to NetSuite forms but they much simpler and compatible with SuperSync Email for Outlook. The first time you take a look at this setting, you may notice familiar names. The default Record Forms were automatically generated when the SuperSync Email for Outlook SuiteApp was installed into NetSuite. They were generated from existing NetSuite forms.
By default, the Administrator (Full Access) Profile has all Record Forms selected. All other default Profiles have none selected. If no Record Forms are selected, the New Record button will not display in the Outlook add-in.
Simply hold the Ctrl key on your keyboard while clicking a Record Form to select or deselect it from the list.
Example Record Forms displayed in the Outlook add-in